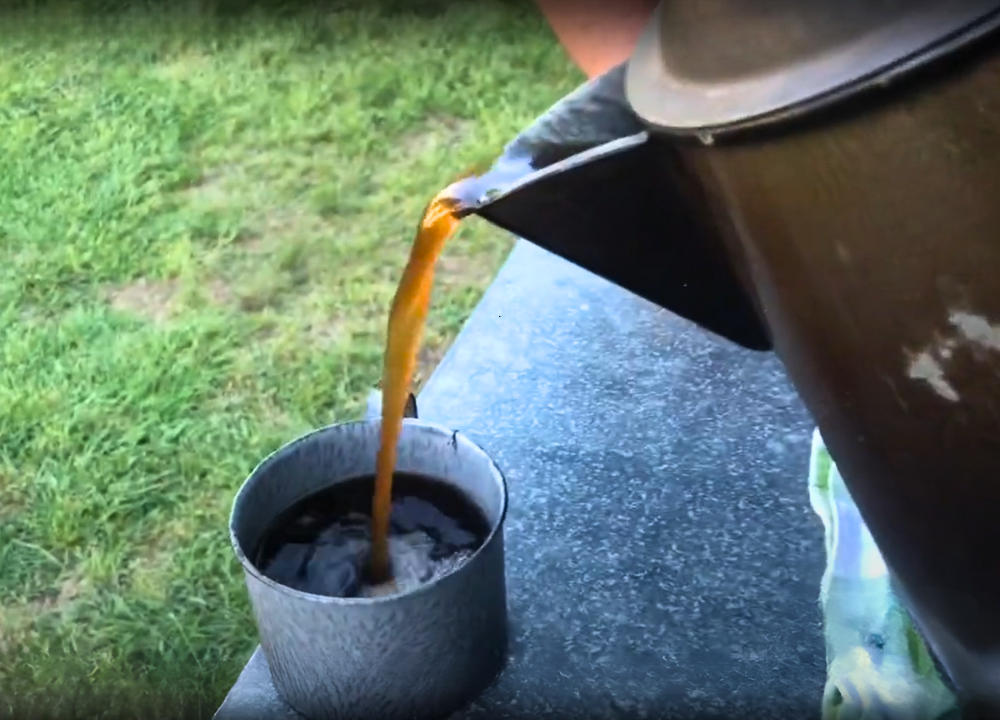
Camping offers a unique opportunity to enjoy nature and unwind. Brewing coffee while camping enhances the experience, giving you a warm and energizing start to your day. Five easy methods ensure you have a delicious cup of coffee no matter where you are.
1. The Classic Method: Cowboy Coffee
Perfect for outdoor enthusiasts, it captures the spirit of camping while delivering a satisfying brew with minimal effort.
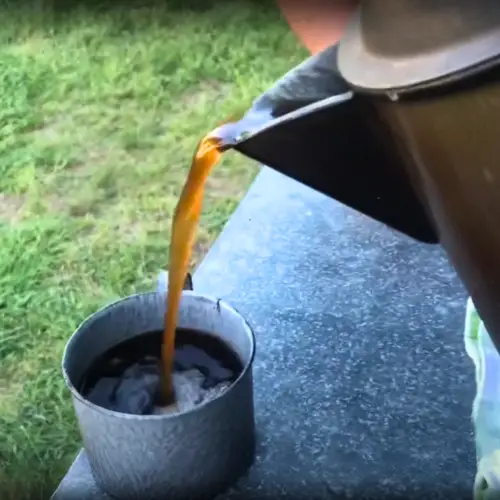
How to Brew Cowboy Coffee
Equipment
- Coarse-ground coffee
- Water
- A pot or kettle
- A heat source (like a campfire or portable stove)
Ingredients
- 2 cups water
- 2 tablespoons coarsely ground coffee
- Optional Pinch of salt (to reduce bitterness)
Instructions
Measure And Boil Water
- Fill your pot with the amount of water you need. Place it over your heat source and bring it to a rolling boil. Use about one tablespoon of coffee per cup of water.
Add Coffee Grounds
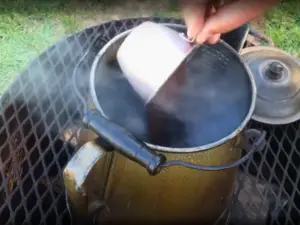
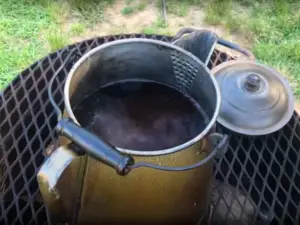
- Once the water is boiling, remove the pot from the heat. Add the coffee grounds directly into the water. Stir to ensure all the grounds are wet.
Let It Brew
- Let the coffee sit for about 4-5 minutes. This allows the grounds to steep and release their flavors. For a stronger brew, let it sit a little longer.
Settle The Grounds
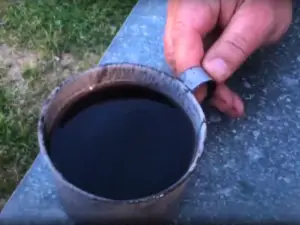
- After brewing, you need to settle the grounds. You can do this by gently tapping the pot or adding a splash of cold water. This helps the grounds sink to the bottom.
2. French Press On The Go
This method is simple, portable, and delivers a rich, full-bodied cup of coffee.
What You’ll Need
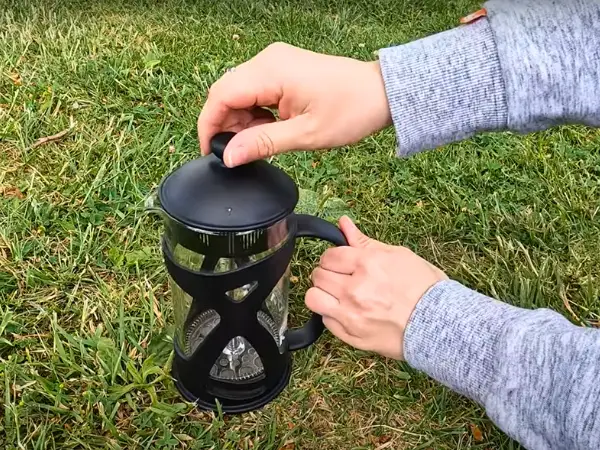
To brew coffee with a French Press while camping, gather the following items:
- French Press: Choose a durable, portable model.
- Ground Coffee: Coarse grind works best for French Press.
- Hot Water: Use a portable kettle or campfire to heat water.
- Stirring Spoon: A spoon to stir the coffee grounds.
- Mug: A sturdy mug to enjoy your coffee.
Step-by-step Guide
- Boil Water: Heat water until it reaches a rolling boil.
- Add Coffee Grounds: Place 2 tablespoons of coffee per cup of water in the French Press.
- Pour Hot Water: Pour the hot water over the coffee grounds.
- Stir: Stir the mixture gently to ensure all grounds are saturated.
- Wait: Let the coffee steep for about 4 minutes.
- Press: Slowly press the plunger down to separate the grounds from the coffee.
- Serve: Pour the coffee into your mug and enjoy.
Tips For The Best Brew
- Use Fresh Coffee: Freshly ground coffee beans produce the best flavor.
- Control Water Temperature: Water should be just off the boil, around 200°F (93°C).
- Time Your Steep: Steep for exactly 4 minutes for optimal extraction.
- Clean Your Press: Clean the French Press after each use to maintain flavor quality.
Portable French Press Recommendations
Consider these portable French Press options for your next camping trip:
| Model | Features | Price |
|---|---|---|
| AeroPress Go | Compact, lightweight, easy to use | $39.95 |
| GSI Outdoors JavaPress | Durable, insulated, BPA-free | $25.99 |
| Stanley Classic Travel Mug French Press | Stainless steel, vacuum insulation, leak-proof | $35.00 |
3. Aeropress Adventure: Compact Brewing
This method is perfect for those who want a quick, delicious brew without lugging heavy equipment. Let’s dive into the AeroPress technique and see why it’s a camper’s best friend.
How The Aeropress Works
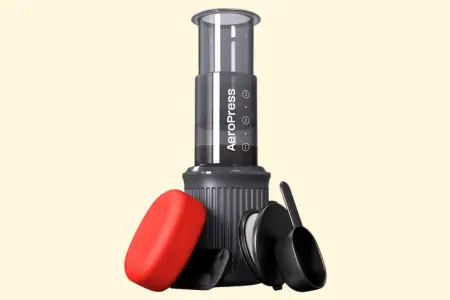
The AeroPress is a compact, lightweight coffee maker. It uses air pressure to push water through coffee grounds. This method extracts rich flavors quickly and efficiently. It’s perfect for camping because it doesn’t need electricity or bulky equipment.
What You Need
- AeroPress coffee maker
- Ground coffee
- Hot water
- Spoon or stirrer
- Cup or mug
AeroPress Go 8 Ounces Coffee Maker
Step-by-step Guide
- Boil water using your camping stove or portable kettle.
- Insert a filter into the AeroPress cap and rinse it with hot water.
- Assemble the AeroPress and place it on your cup or mug.
- Add two scoops of coffee grounds into the AeroPress chamber.
- Pour hot water up to the marked line.
- Stir the mixture with a spoon or stirrer for about 10 seconds.
- Insert the plunger and press down slowly until you hear a hissing sound.
- Enjoy your freshly brewed coffee!
Why Choose Aeropress?
The AeroPress is a favorite among campers for several reasons:
| Feature | Benefit |
|---|---|
| Compact Size | Easy to pack and carry |
| Quick Brewing | Enjoy coffee in minutes |
| Versatile | Make espresso, Americano, or cold brew |
| Durable | Withstands outdoor conditions |
Tips For The Perfect Brew
- Use fresh, high-quality coffee beans.
- Grind your coffee just before brewing.
- Experiment with coffee-to-water ratios for your perfect taste.
4. Pour-over Coffee Outdoors
One of the simplest and most satisfying ways to enjoy your coffee outdoors is the pour-over method.
Equipment Needed
To make pour-over coffee while camping, you’ll need a few essentials. Here’s a handy list:
- Pour-over dripper
- Paper filters
- Ground coffee
- Hot water kettle
- Camping stove
- Water
- Cup or mug
Step-by-step Guide
- Boil the Water: Use a camping stove to heat the water until it’s just off the boil.
- Set Up the Dripper: Place the pour-over dripper on top of your cup or mug and insert a paper filter.
- Rinse the Filter: Pour hot water through the filter to rinse it and warm the cup. Discard the rinse water.
- Add Coffee Grounds: Add your ground coffee to the filter, using about one tablespoon per cup.
- Bloom the Coffee: Pour a small amount of hot water over the grounds to let them bloom for 30 seconds.
- Pour in Circles: Slowly pour the remaining hot water over the coffee grounds in a circular motion.
- Wait and Enjoy: Allow the water to drip through the grounds. Once finished, enjoy your fresh pour-over coffee!
Tips For The Perfect Brew
| Tip | Description |
|---|---|
| Grind Size | Use a medium-coarse grind for balanced extraction. |
| Water Temperature | Optimal temperature is around 200°F (93°C). |
| Pour Technique | Pour slowly and steadily for even saturation. |
5. Using A Percolator For Campfire Coffee
This method brings a nostalgic feel to your camping experience and ensures you get a rich, flavorful coffee.
Gather Your Gear
Before you start, make sure you have all the necessary equipment. Here’s a list of what you’ll need:
- Percolator – A camping-friendly, durable percolator.
- Ground Coffee – Coarse grounds work best.
- Water – Fresh and clean.
- Heat Source – Campfire or portable stove.
Prepare Your Percolator
First, disassemble your percolator. Fill the bottom chamber with cold water. The amount of water depends on how many cups you want to brew. Next, place the metal filter basket in the percolator and add your coffee grounds. Use about one tablespoon of coffee per cup of water.
Set Up Your Campfire
Get a steady campfire going. You need a consistent heat source to ensure your coffee brews properly. Place the percolator on a grill over the fire or directly on hot coals. Make sure it sits evenly to avoid spills.
Start Percolating
As the water heats, it will rise through the central tube and percolate through the coffee grounds. Keep an eye on it and adjust the heat as needed to maintain a gentle percolation. The process usually takes around 10-15 minutes.
Monitor And Serve
Once you see a steady, dark stream of coffee in the glass knob at the top, your coffee is ready. Carefully remove the percolator from the heat. Let it sit for a minute to settle the grounds. Then, pour and enjoy your perfect cup of campfire coffee.
6. Bonus Tip: Instant Coffee For Quick Convenience
While there are numerous methods to brew coffee outdoors, we have compiled five easy techniques to suit various preferences. And for those who prefer quick convenience, don’t miss out on our bonus tip: instant coffee.
Instant coffee is a lifesaver for campers who prioritize speed and simplicity. No need for bulky equipment or extensive clean-up. Just pack a few sachets, and you’re good to go.
Why Choose Instant Coffee?
- Lightweight: Easy to carry in your backpack.
- Quick Preparation: Ready in seconds with hot water.
- No Mess: No coffee grounds to dispose of.
| Step | Description |
|---|---|
| 1 | Boil water using a camping stove or over a campfire. |
| 2 | Pour the hot water into your cup. |
| 3 | Add the instant coffee sachet to the water. |
| 4 | Stir well and enjoy your coffee. |
For an extra flavor boost, consider adding a pinch of cinnamon or a splash of condensed milk. These simple additions can transform your instant coffee into a delightful treat.
Instant coffee brands have improved significantly in recent years. Look for high-quality options to ensure you still get a satisfying coffee experience even while camping.
Pro Tip: Always carry some extra sachets. You never know when you’ll need a quick caffeine fix.

