Roasting coffee at home: Both techniques allow coffee enthusiasts to experiment with roast levels, enhancing their brewing experience. Home roasting is cost-effective and yields fresher coffee than store-bought options. With basic equipment and a little practice, anyone can enjoy barista-quality coffee at home.
Benefits Of Home Roasting
Home roasting has several benefits, making it an attractive option for coffee enthusiasts.
Freshness Matters
Freshness is a major benefit of roasting coffee at home. Freshly roasted coffee beans offer superior taste and aroma. When you roast your own beans, you can ensure they are as fresh as possible.
- Better Flavor: Freshly roasted beans have a richer and more complex flavor profile.
- Aroma: The aroma of fresh coffee is more intense and enjoyable.
- Control Over Roast: You can experiment with different roast levels to find your perfect cup.
Store-bought coffee often loses its freshness quickly. Beans can go stale within weeks, losing their flavor and aroma. By roasting at home, you can avoid this issue entirely. Freshness directly impacts the quality of your coffee, making home roasting a worthwhile endeavor.
Here’s a quick comparison of fresh vs. store-bought coffee:
| Freshly Roasted | Store-Bought | |
|---|---|---|
| Flavor | Rich and complex | Dull and flat |
| Aroma | Intense | Mild |
| Control | High | Low |
Cost Savings
Home roasting coffee beans can also be a cost-effective choice. Green coffee beans are generally cheaper than pre-roasted beans. By roasting at home, you can save money without compromising on quality.
Here are some cost-saving benefits:
- Lower Cost Per Pound: Green beans are often sold at a lower price compared to roasted beans.
- Bulk Buying: You can buy green beans in bulk, which further reduces the cost.
- Less Waste: Roast only the amount you need, reducing waste and saving money.
Let’s compare the cost of green beans vs. roasted beans:
| Green Beans | Roasted Beans | |
|---|---|---|
| Cost per Pound | $5 – $8 | $10 – $15 |
| Shelf Life | Up to 1 Year | 1 – 2 Weeks |
Roasting coffee at home not only ensures you get the freshest cup, but it also helps you save money. These benefits make home roasting a great choice for any coffee lover.
Method 1: Roasting Coffee Beans In A Pan
One of the simplest methods is roasting coffee beans in a pan. This method requires minimal equipment and can yield delicious results. Follow these easy steps to start your coffee roasting journey right in your kitchen.
Roasting Coffee Beans at Home (Pan Method)

Learn how to roast coffee beans at home using the simple pan method.
- Pan
- Air popcorn popper
- Wooden spoon or spatula
- Cooling tray or colander
- Timer
- Oven mitts
- 1/2 to 1 cup green coffee beans
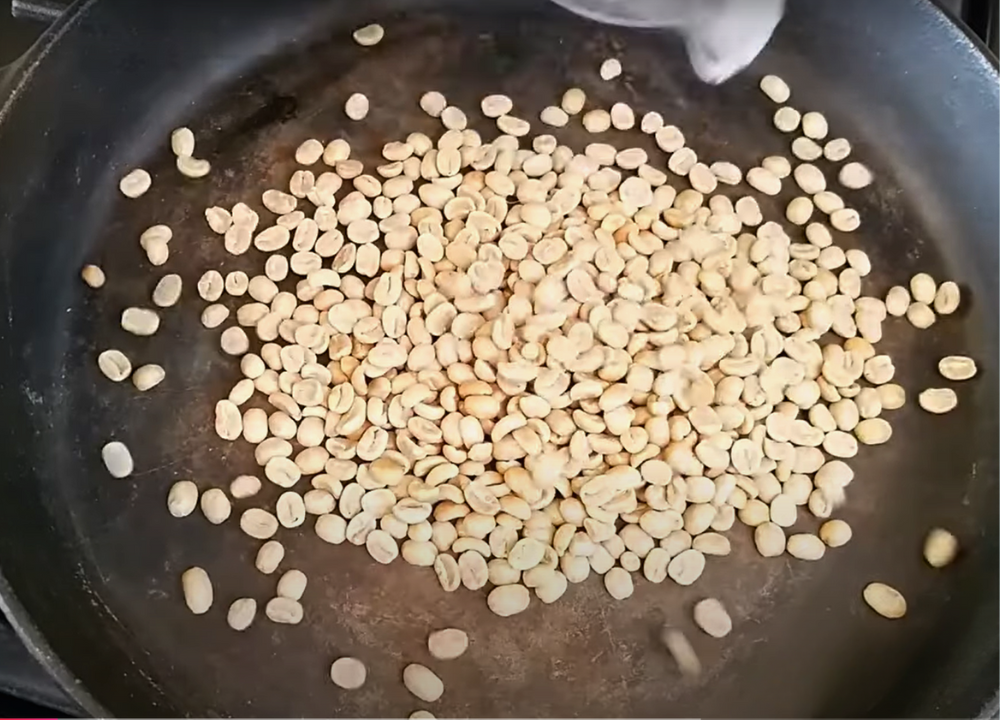
Cast iron or stainless steel pans work best due to their even heat distribution. Place the pan on the stove and set the heat to medium. Preheat the pan for about 5 minutes. This ensures that the beans roast evenly from the start.
Next, measure your coffee beans. A good starting point is 1/2 cup of green coffee beans. Once the pan is hot, add the beans. Spread them out so they form a single layer. This allows for even roasting.
Stir the beans constantly to ensure they roast evenly. Avoid letting the beans sit too long in one spot, as this can cause uneven roasting.
Stirring also helps to prevent burning. The beans will start to smoke, which is normal. Ensure proper ventilation in your kitchen to handle the smoke.
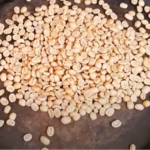
Keep an eye on the color of the beans. They will gradually darken. The goal is to achieve a uniform roast. This usually takes 10-15 minutes, depending on your desired roast level.
During roasting, the beans will make cracking sounds. The first crack occurs around 5-7 minutes. This crack indicates the beans have reached a light roast. If you prefer a lighter roast, you can stop roasting here.
The second crack happens around 12-15 minutes. This indicates a medium to dark roast. The cracking sounds will be more frequent and louder. Decide your roast level based on these cracks. For a medium roast, stop soon after the first crack. For a dark roast, wait until the second crack.

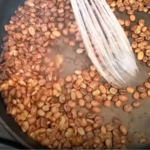
Once you've reached your desired roast level, remove the pan from the heat. Immediately transfer the beans to a colander or baking sheet. This helps them cool quickly and stops the roasting process.
Stir the beans continuously as they cool. This ensures they cool evenly. Once they are cool to the touch, it's time to store them.
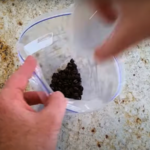
Store the beans in an airtight container. This preserves their freshness. Keep the container in a cool, dark place. Avoid exposing the beans to air, light, or moisture as these factors can degrade the quality.
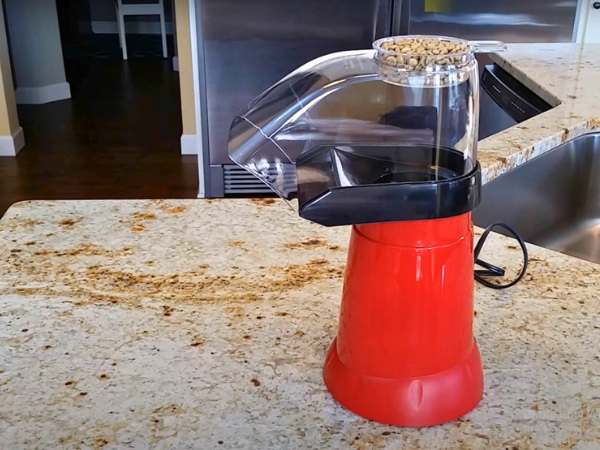
Method 2: Roasting Coffee Beans With An Air Popcorn Popper
One simple method is using an air popcorn popper. This approach is quick, cost-effective, and fun. Let’s explore the steps to roast coffee beans with an air popcorn popper.
Step 1: Set Up The Popcorn Popper
To start, ensure you have a suitable air popcorn popper. Not all poppers are safe for roasting coffee beans. Look for one with side vents, as bottom-vented poppers may overheat. Place the popper on a stable surface, such as a kitchen counter or table. Ensure the area is well-ventilated to manage smoke and fumes.
Gather the necessary items:
- Air popcorn popper
- Green coffee beans
- Metal colander or baking sheet for cooling
- Wooden spoon for stirring
- Measuring cup
Plug in the popcorn popper and ensure it’s functioning correctly. Preheat the popper for about 30 seconds to one minute. This step ensures an even roasting process. Place a large bowl under the chute to catch chaff, the outer skin of the beans that will come off during roasting.
Step 2: Add Coffee Beans To The Popper
Measure the coffee beans. Use about 1/2 cup to 3/4 cup of green coffee beans. Pour the beans into the preheated popcorn popper. Avoid overfilling the popper to ensure proper air circulation and even roasting.
Some tips for adding beans:
- Use a measuring cup for accuracy.
- Pour beans slowly to prevent spills.
- Ensure beans are evenly distributed in the popper.
Once the beans are in, place the lid securely on the popper. The beans will start to spin and roast. Keep an eye on the process to ensure everything is working smoothly.
Step 3: Monitor The Roasting Process
The roasting process takes about 4 to 8 minutes. Watch the color of the beans as they roast. They will change from green to yellow, then to light brown, and finally to dark brown. Stir the beans occasionally with a wooden spoon to ensure even roasting.
Things to look out for:
- Color changes in the beans
- Chaff coming off the beans
- Smoke increasing as the roast progresses
Do not leave the popper unattended. The process happens quickly, and you need to be ready for the next steps. Use a timer to keep track of the roasting time. This helps you achieve the desired roast level.

Step 4: Listen For The Cracks And Adjust Time
Coffee beans undergo two cracks during roasting:
- First crack: A light popping sound, indicating the beans are entering a light roast stage.
- Second crack: A more pronounced crack, indicating the beans are entering a medium to dark roast stage.
Listen carefully for these cracks. The first crack occurs around 4 to 5 minutes. The second crack happens around 6 to 7 minutes. Stop the roast based on your preference:
- Light roast: Stop shortly after the first crack.
- Medium roast: Stop just before the second crack.
- Dark roast: Stop during the second crack.
Step 5: Cool And Store The Beans
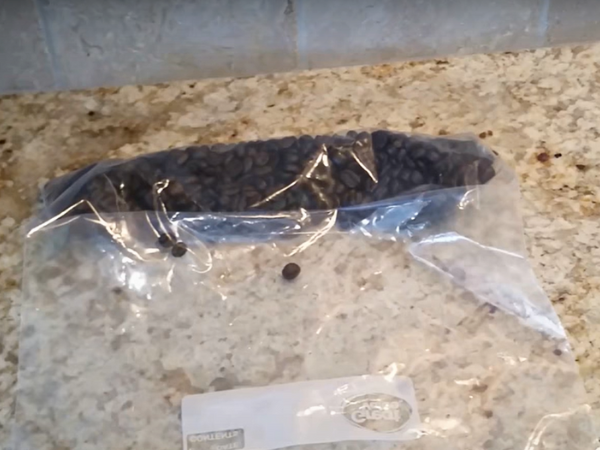
Once you achieve the desired roast, immediately transfer the beans to a metal colander or baking sheet. Stir the beans to cool them quickly and evenly. This step halts the roasting process and preserves the flavor.
Remove any remaining chaff from the beans. Let the beans cool for about 10 minutes. Store the cooled beans in an airtight container. Avoid immediate sealing to allow gases to escape. Wait about 12 hours before sealing the container.
Store the beans in a cool, dark place. Use roasted beans within two weeks for the best flavor. Enjoy your fresh, homemade coffee!
Tips For Achieving The Perfect Roast
Roasting coffee at home offers a fresh and flavorful experience. It can be rewarding but requires some finesse. Below are tips for achieving the perfect roast, ensuring your beans are always fresh and delicious.
1. Select Quality Green Beans
Start with high-quality green beans. The flavor of your roast depends on the beans you choose. Look for beans from reputable suppliers. Consider trying beans from different regions to find your favorite.
2. Use The Right Equipment
You don’t need fancy equipment to roast coffee at home. You can use a popcorn popper or an oven. Each method has its pros and cons. Choose the one that fits your comfort level and space.
3. Monitor Temperature
Temperature control is crucial for a perfect roast. Keep the temperature between 370°F to 540°F (188°C to 282°C). Use a thermometer to ensure accuracy. Too hot, and you risk burning the beans; too low, and they may not roast evenly.
4. Listen For The Cracks
During roasting, listen for the “first crack” and “second crack”. The first crack sounds like popcorn popping. It signals a light roast. The second crack is quieter and signals a medium to dark roast.
5. Cool The Beans Quickly
After roasting, cool the beans quickly to stop the roasting process. Spread the beans on a baking sheet or use a colander. Stir them to speed up cooling. This helps preserve the flavor.
6. Store Properly
Store roasted beans in an airtight container. Keep them away from light and heat. Use the beans within a week for the best flavor. Freshly roasted beans lose their flavor over time.
7. Keep A Roasting Log
Maintain a log of your roasting sessions. Note the bean type, temperature, and roasting time. This helps you refine your process and achieve consistent results.
8. Experiment And Enjoy
Don’t be afraid to experiment. Try different roasting times and temperatures. Each batch will teach you something new. Enjoy the process and the fresh coffee you create!