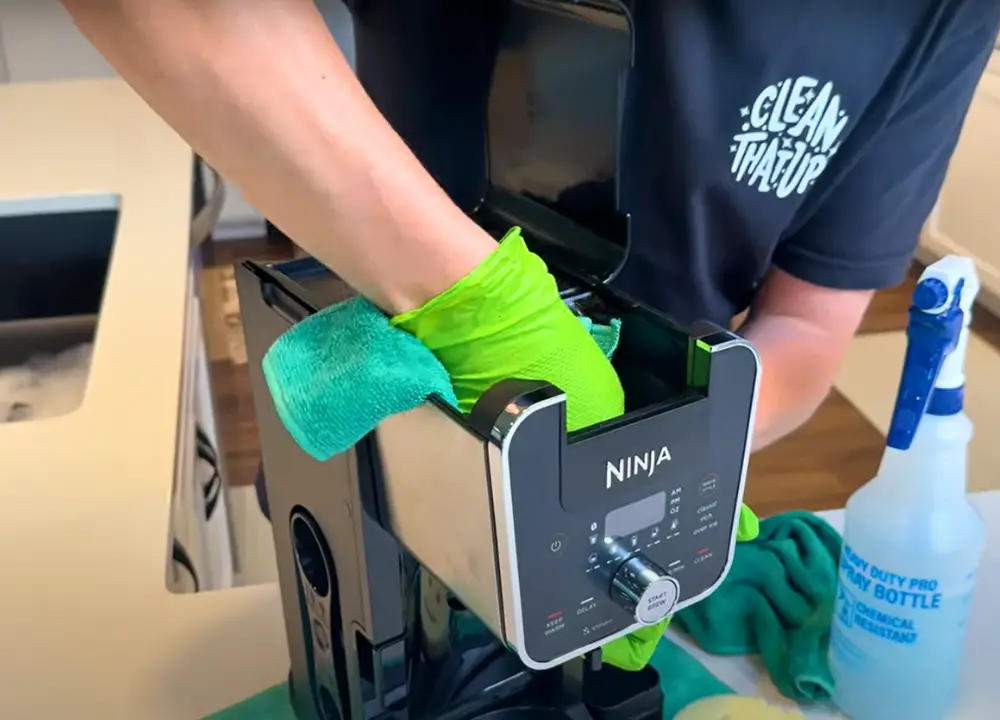
Keeping your coffee maker clean is essential for brewing great-tasting coffee. Over time, mineral deposits and coffee oils can build up, affecting flavor and performance. Vinegar provides a natural, effective solution for deep cleaning your coffee maker. This simple process eliminates residues and extends the life of your machine.
Why Clean Your Coffee Maker Regularly?
Using vinegar is an easy way to clean your coffee maker in under 45 minutes. Regular cleaning helps keep your coffee fresh and your machine functioning well.
The Importance Of Keeping Your Coffee Maker Clean
Keeping your coffee maker clean is crucial for several reasons. A clean coffee maker ensures that every cup of coffee tastes the best. Here are some reasons why cleaning your coffee maker matters:
- Health and Safety: Bacteria and mold can grow in dirty machines.
- Better Taste: Old coffee oils can spoil the flavor.
- Longer Lifespan: Regular cleaning prevents damage to the machine.
- Energy Efficiency: A clean machine uses energy more effectively.
Many coffee makers have small parts that can trap residue. This residue can lead to poor performance. Regular cleaning can help remove this buildup.
Here’s a simple table showing how often you should clean your coffee maker:
| Cleaning Task | Frequency |
|---|---|
| Daily Rinse | After Every Use |
| Deep Clean with Vinegar | Once a Month |
Make cleaning your coffee maker a habit. It will reward you with delicious coffee every time.
How Buildup Affects Coffee Flavor And Performance
Buildup in your coffee maker can ruin the taste of your coffee. Old coffee grounds and oils can mix with fresh coffee. This can lead to bitter or stale flavors. Residue can also clog the machine, slowing it down.
Some signs of buildup include:
- Strange smells from the machine.
- Weak or watery coffee.
- Slow brewing times.
Cleaning your coffee maker with vinegar removes this buildup effectively. Vinegar is a natural cleaning agent. It breaks down oils and minerals that accumulate over time.
Here’s a quick guide to how vinegar helps:
- Deodorizes: Eliminates bad smells.
- Descale: Removes mineral deposits.
- Sanitizes: Kills bacteria and germs.
Regular cleaning with vinegar keeps your coffee tasting fresh. It also ensures your coffee maker lasts longer.
What You’ll Need
In under 45 minutes, you can have a fresh, clean machine. Knowing what you need makes the process easier. Gather your supplies before you start, and you’ll be ready to go.
Essential Supplies For Cleaning With Vinegar
To clean your coffee maker effectively, you need a few essential supplies. These items will help you remove buildup and keep your coffee tasting great. Here’s a list of what you will need:
- White vinegar: This is the main cleaning agent. It helps remove mineral deposits.
- Water: You will mix this with the vinegar.
- Measuring cup: Use this to measure your vinegar and water accurately.
- Soft cloth or sponge: Perfect for wiping down the exterior of your coffee maker.
- Dish soap: Helps clean removable parts, such as the carafe.
Here’s a simple table summarizing the supplies:
| Supply | Purpose |
|---|---|
| White vinegar | Cleaning agent |
| Water | Dilutes vinegar |
| Measuring cup | Accurate measurements |
| Soft cloth or sponge | Wipe down surfaces |
| Dish soap | Cleans removable parts |
Having these supplies ready will make your cleaning experience smooth and efficient. With everything on hand, you can move on to the next steps with confidence.
Preparing Your Coffee Maker For The Cleaning Process
Before cleaning, it’s important to prepare your coffee maker. This ensures that the process goes smoothly and effectively. Start by unplugging your coffee maker from the wall. Safety first!
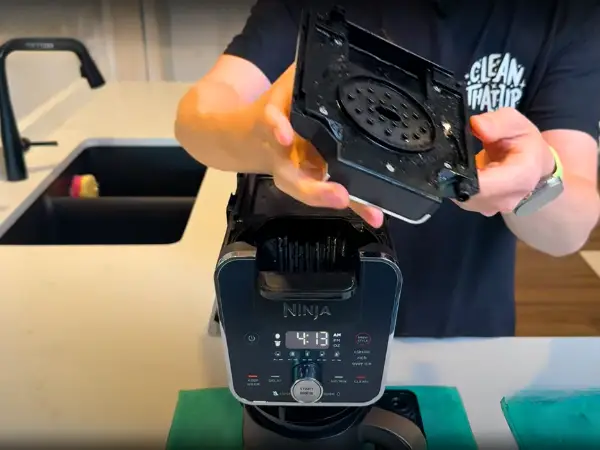
Next, remove any parts that can be taken out easily. This includes the carafe, filter basket, and any other removable components. Rinse these parts with warm water. Use a little dish soap for a deeper clean.
Follow these steps to prepare:
- Unplug your coffee maker.
- Remove the carafe and filter basket.
- Rinse the removable parts with warm water.
- Use dish soap on stubborn stains.
After rinsing, set the parts aside to dry. Make sure your coffee maker’s water reservoir is empty. This will allow the vinegar solution to work effectively without any old water interfering.
Now that your coffee maker is ready, you can proceed to the actual cleaning process. You will enjoy fresh coffee from a clean machine in no time!
Step-by-step Guide To Cleaning Your Coffee Maker With Vinegar
Cleaning your coffee maker with vinegar is simple and effective. This method takes less than 45 minutes. Vinegar removes mineral buildup and coffee stains. Follow this step-by-step guide to keep your coffee maker fresh and functional.
Step 1: Mix The Vinegar Solution
Start by preparing the vinegar solution. This solution is key for removing grime. Here’s what you need:
- 1 cup of white vinegar
- 1 cup of water
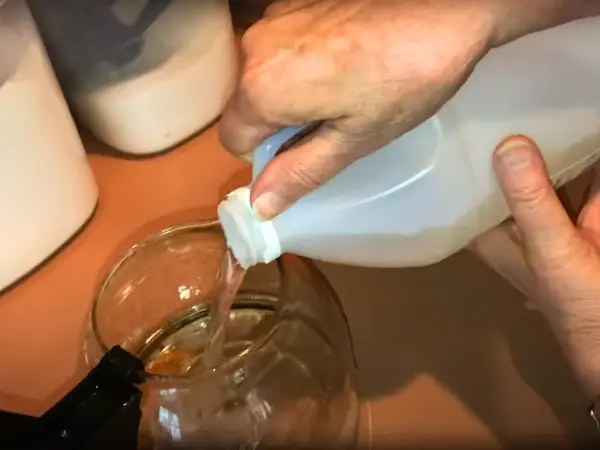
Combine these ingredients in a measuring cup. Mix them well. Pour this mixture into the coffee maker’s water reservoir. This simple solution will clean and sanitize your coffee maker.
Here’s a quick table showing the mixture:
| Ingredient | Quantity |
|---|---|
| White Vinegar | 1 cup |
| Water | 1 cup |
Make sure to use white vinegar. Other types may leave an odd smell. Now, you are ready for the next step!
Step 2: Run The First Cleaning Cycle
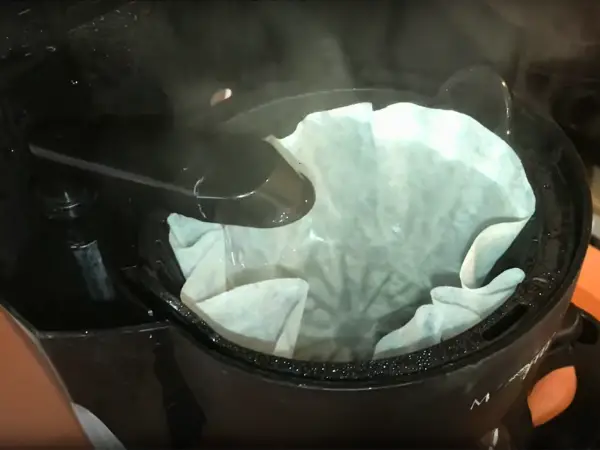
It’s time to run the first cleaning cycle. Place a coffee filter in the basket. This helps catch any residue. Now, turn on the coffee maker. Let it brew the vinegar solution.
Keep an eye on it. This process usually takes 10-15 minutes. The vinegar will clean the heating element and pipes. After the cycle is complete, turn off the coffee maker.
Here are some tips for this step:
- Make sure your coffee maker is empty.
- Do not add coffee grounds.
- Always use a clean coffee filter.
This step helps remove stubborn stains and buildup. Your coffee maker will thank you!
Step 3: Let The Vinegar Solution Sit
After the first cycle, let the vinegar solution sit. This helps break down any remaining residue. Wait for about 15-20 minutes. This soaking time is crucial.
During this wait, take a moment to enjoy the aroma of clean coffee. Vinegar is a natural cleaner. It will eliminate odors and bacteria.
Use this time to prepare for the next step. Gather fresh water for rinsing. After the wait, you will see a cleaner coffee maker.
Step 4: Rinse With Fresh Water
Now it’s time to rinse out the vinegar. Empty the coffee pot and discard the used filter. Fill the water reservoir with fresh water. Run the coffee maker again, just like before.
Let it brew until the water pot is full. This helps remove any leftover vinegar taste. Repeat this step two or three times for best results.
Here are some reminders:
- Do not skip rinsing.
- Ensure all vinegar is gone before using.
- Use clean water only.
This step ensures your coffee maker is ready for brewing. Enjoy clean, fresh coffee every time!
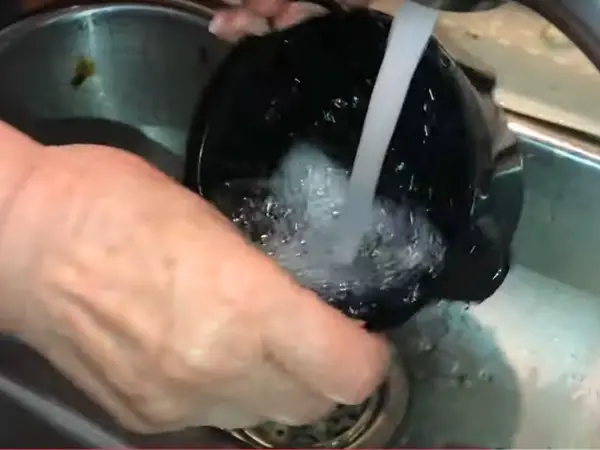
Step 5: Wipe Down And Reassemble
Finally, it’s time to wipe down and reassemble your coffee maker. Use a soft cloth to clean the exterior. Pay special attention to the coffee pot and filter basket.
Make sure everything is dry before putting it back together. This prevents mold and mildew. Here’s a quick checklist:
- Wipe the exterior with a damp cloth.
- Clean the coffee pot with warm soapy water.
- Dry all parts thoroughly.
After cleaning, reassemble your coffee maker. Plug it back in and enjoy your coffee. A clean coffee maker makes for delicious brews!
Troubleshooting Common Issues
Cleaning your coffee maker with vinegar is simple and effective. It helps remove buildup and keeps your machine running smoothly. After a vinegar cleaning, some issues may arise. Common problems include lingering vinegar smells and stubborn stains. This section will help you troubleshoot these common issues quickly and easily.
What To Do If Your Coffee Maker Still Smells Like Vinegar
If your coffee maker still has a vinegar smell, don’t worry. You can fix this problem easily. Follow these steps:
- Run a fresh water cycle. Fill the reservoir with clean water.
- Run the coffee maker without coffee. This helps rinse out the vinegar.
- Repeat the process. You may need to do this two or three times.
Sometimes, just rinsing isn’t enough. Try these additional tips:
- Use lemon juice. Mix one part lemon juice with two parts water.
- Let the solution sit in the reservoir for 15 minutes.
- Run the coffee maker again with the lemon mixture.
Check the table below for a quick comparison of solutions:
| Method | Effectiveness | Time Required |
|---|---|---|
| Fresh Water Cycle | Good | 15 minutes |
| Lemon Juice Rinse | Excellent | 30 minutes |
These methods should help eliminate any lingering vinegar smell. Your coffee maker will smell fresh and ready to brew again!
How To Remove Stubborn Stains And Residue
Stains and residue can build up in your coffee maker over time. They can affect the taste of your coffee. Here’s how to remove these stubborn stains:
- Make a baking soda paste. Mix 1 tablespoon of baking soda with water.
- Apply the paste to stained areas. Use a soft cloth or sponge.
- Gently scrub the stains. Rinse with clean water afterward.
For tough stains, consider these options:
- Use vinegar and baking soda together. Pour 1 cup of vinegar and 1/4 cup of baking soda into the reservoir.
- Let the mixture fizz for a few minutes.
- Run a cleaning cycle with the mixture. Rinse thoroughly afterward.
Check the table below for stain removal methods:
| Method | Type of Stain | Time Required |
|---|---|---|
| Baking Soda Paste | Light Stains | 10 minutes |
| Vinegar and Baking Soda | Tough Stains | 30 minutes |
These methods will help restore your coffee maker’s cleanliness. Enjoy fresh, great-tasting coffee every time!

