A coffee maker that turns on but doesn’t brew can be frustrating. Several common issues can cause this problem.
Common Reasons Your Coffee Maker Turns On But Doesn’t Brew
Here are some common reasons your coffee maker turns on but doesn’t brew and how to fix them.
1. Clogged Water Line
A clogged water line can prevent water from reaching the coffee grounds. Over time, minerals from the water can build up and block the line. To fix this, you can run a mixture of vinegar and water through the machine to dissolve any blockages.
2. Faulty Heating Element
If the heating element is faulty, the water won’t heat up enough to brew coffee. You can test the heating element using a multimeter. If it’s not working, you may need to replace it.
3. Malfunctioning Pump
The pump is responsible for pushing water through the coffee maker. If it’s malfunctioning, the water won’t move through the system. You can try cleaning the pump to remove any debris or replacing it if it’s broken.
4. Incorrect Coffee Grind
The grind size of your coffee can affect the brewing process. If the grind is too fine, it can clog the filter and prevent water from passing through. Try using a coarser grind to see if it resolves the issue.
5. Water Reservoir Issues
The water reservoir needs to be properly seated and filled for the coffee maker to work. Make sure the reservoir is in place and contains enough water. Sometimes, air bubbles can form and block the water flow, so give it a gentle shake to release any trapped air.
6. Electrical Problems
Electrical issues can cause your coffee maker to turn on but not brew. Check the power cord and plug for any damage. Ensure the outlet is working by testing it with another appliance.
7. Timer or Programming Errors
Some coffee makers have timers or programmable settings. If these settings are incorrect, the machine might not brew at the right time. Double-check the timer and programming settings to ensure they are set correctly.
Check The Basics: Power And Water Levels
The first step in troubleshooting this problem is to check the basics: power and water levels. These simple checks can often resolve the issue without the need for professional help.
Check The Power Source
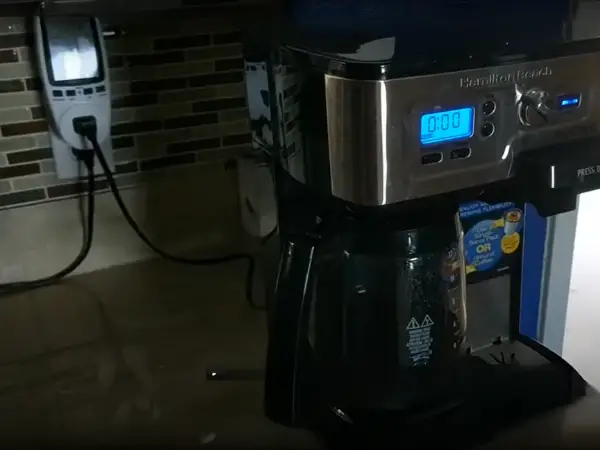
Ensure your coffee maker is securely plugged into the outlet. Sometimes the plug can become loose. If the plug is secure, try testing another appliance in the same outlet to confirm it is working. If the outlet is faulty, use a different one.
Inspect The Power Cord
Examine the power cord for any visible damage. Frayed or damaged cords can prevent the coffee maker from functioning properly. If you find any damage, replace the cord immediately for safety.
Verify The Water Level
Check the water reservoir to ensure it has enough water. Insufficient water levels can stop the brewing process. Fill the reservoir to the required level and attempt to brew again.
Examine The Water Reservoir
Sometimes, mineral deposits can clog the water reservoir. Clean the reservoir thoroughly with a mixture of vinegar and water. A clean reservoir ensures smooth water flow and proper brewing.
Check The Water Filter
If your coffee maker has a water filter, ensure it is not clogged. A clogged filter can block water flow. Replace the filter if necessary to ensure proper water flow.
Inspect The Coffee Grounds And Filter
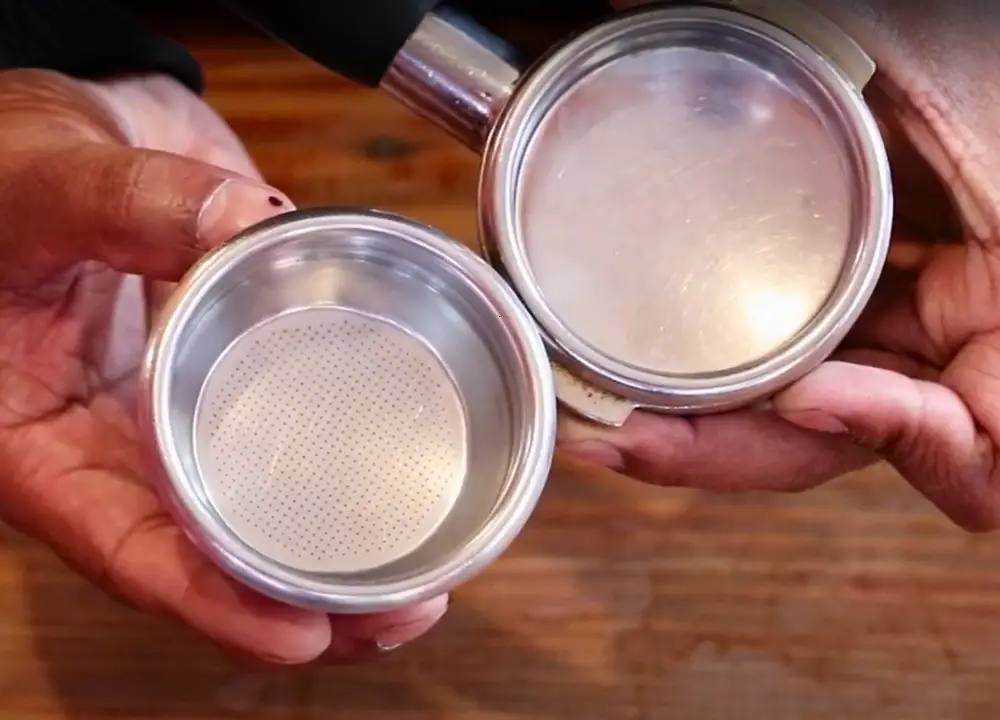
A clogged filter can stop your coffee maker from brewing. Remove the filter and hold it up to the light. If light doesn’t pass through, it’s clogged and needs cleaning or replacing.
Examine Coffee Grounds Quantity
Too Many Grounds: Using too many coffee grounds can create a blockage. Ensure you use the correct amount as per your coffee maker’s instructions. Excessive grounds can prevent water from flowing through.
Use Fresh Coffee Grounds
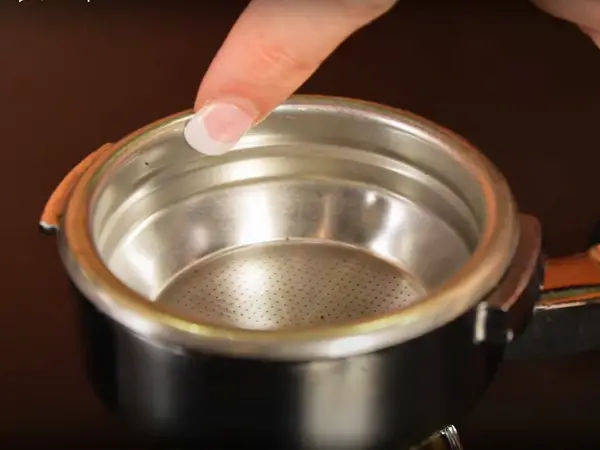
Old Coffee Grounds: Stale coffee grounds can cause brewing issues. Always use fresh grounds. Stale grounds can become compacted and block the filter, leading to brewing problems.
Check The Grind Size
Inappropriate Grind Size: The grind size of your coffee matters. If it’s too fine, it can clog the filter. Use the recommended grind size for your coffee maker. A medium grind usually works well for drip coffee makers.
Filter Placement
Improper Filter Placement: Make sure the filter is correctly placed. An improperly placed filter can cause water to bypass the coffee grounds, resulting in no brew.
Cleaning The Coffee Maker
Regular Cleaning: Regularly clean your coffee maker to avoid buildup. A clean coffee maker ensures smooth water flow and proper brewing. Follow the manufacturer’s cleaning instructions for best results.
Cleaning Your Coffee Maker: A Necessary Step
Cleaning your coffee maker is a necessary step to ensure it functions properly. A clean coffee maker not only brews better coffee but also extends the life of your machine.
Why Regular Cleaning Is Crucial
Over time, coffee makers accumulate mineral deposits, coffee oils, and other residues. These build-ups can clog the machine, affecting its performance. Regular cleaning helps to remove these deposits, ensuring your coffee maker runs smoothly.
Cleaning Supplies You Will Need
- White vinegar
- Water
- Soft cloth or sponge
- Dish soap
- Paper filter
Step-by-step Cleaning Process
- Empty the Coffee Maker: Remove any leftover coffee grounds and discard them.
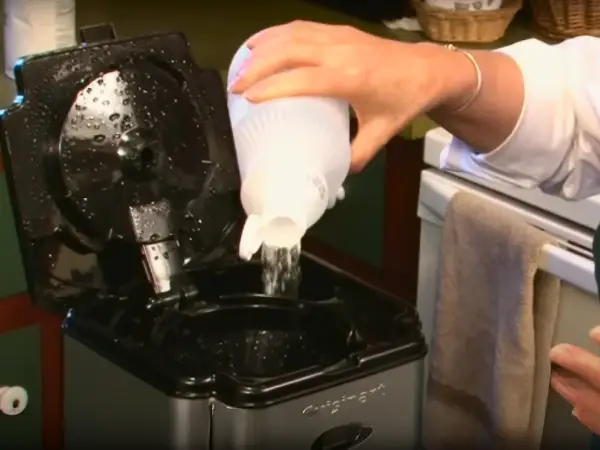
- Prepare the Cleaning Solution: Mix equal parts white vinegar and water.
- Run a Brew Cycle: Pour the solution into the water reservoir and start a brew cycle. Use a paper filter for this process.
- Pause and Soak: Halfway through the cycle, turn off the coffee maker and let the solution sit for 30 minutes. This helps to dissolve any build-up.
- Complete the Cycle: Turn the coffee maker back on and finish the brew cycle.
- Rinse Thoroughly: Run two to three cycles with clean water to remove any vinegar residue.
- Clean the Carafe and Filter Basket: Wash these parts with warm, soapy water and a soft cloth.
Preventive Measures
To prevent future issues, clean your coffee maker at least once a month. Use filtered water to reduce mineral deposits. Always empty the coffee grounds after each use.
Signs Your Coffee Maker Needs Cleaning
| Sign | Description |
|---|---|
| Slow Brewing | Mineral build-up can slow down the brewing process. |
| Bad Taste | Old coffee oils can make your coffee taste bitter. |
| Unusual Noises | Clogs can cause strange sounds during the brewing cycle. |
Testing The Brew Cycle: Manual And Automatic Methods
Understanding manual and automatic methods can help pinpoint the issue. Let’s dive into how you can test the brew cycle effectively.
Manual Method: Step-by-step Guide
To test the brew cycle manually, follow these steps:
- Fill the water reservoir: Ensure it’s filled to the max line.
- Place a filter: Insert a clean coffee filter in the basket.
- Start the brew cycle: Turn on the coffee maker and listen for any sounds.
- Check for water flow: If water isn’t flowing, there may be a clog.
- Inspect the heating element: Feel for warmth at the base. If it’s cold, the heater might be broken.
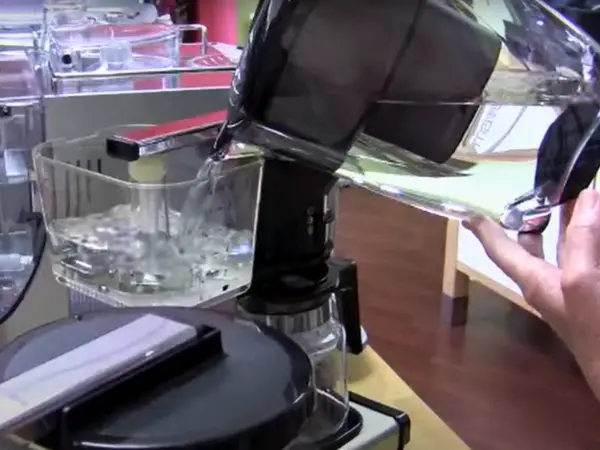
Automatic Method: Using Built-in Diagnostics
Many modern coffee makers have built-in diagnostics. Here’s how to use them:
- Refer to the manual: Check your coffee maker’s manual for diagnostic modes.
- Activate diagnostics: Follow the steps to activate the diagnostic mode.
- Run a test cycle: The machine will run a test and display error codes if any.
- Interpret error codes: Use the manual to understand what each code means.
Common Issues And Solutions
| Issue | Possible Cause | Solution |
|---|---|---|
| No water flow | Clogged lines | Clean with a vinegar solution |
| Cold base | Broken heater | Replace the heating element |
| Error codes | Various | Refer to the manual |
Tips For Preventive Maintenance
- Regular cleaning: Clean your coffee maker monthly with a descaling solution.
- Use filtered water: This helps prevent mineral build-up.
- Check for wear and tear: Inspect seals and gaskets regularly.
When To Call For Professional Help
Knowing when to call a professional can save you time and prevent further damage to your coffee maker.
Persistent Electrical Issues
If your coffee maker shows persistent electrical issues like flickering lights or strange noises, it’s best to call a professional. These issues can indicate serious electrical problems, which can be dangerous. A professional can diagnose and fix these issues safely.
Internal Components Failure
When internal components like the pump or heating element fail, it’s time for professional help. These parts are complex and require specialized knowledge to fix. Attempting to repair these yourself could lead to more damage or void your warranty.
Water Leakage
Water leaking from your coffee maker can cause a mess and damage your kitchen. If you notice water pooling around your machine, it’s best to call a professional. They can identify the source of the leak and fix it efficiently.
Unusual Smells Or Smoke
If your coffee maker emits unusual smells or smoke, turn it off immediately and call a professional. These signs can indicate serious issues like electrical shorts or overheating components. Continuing to use the machine can be dangerous.
Repeated Failures After Diy Fixes
Sometimes, DIY fixes may not solve the problem. If your coffee maker fails repeatedly after home repairs, it’s time to call a professional. They can provide a thorough diagnosis and ensure your machine works correctly.
Professional Maintenance
Regular professional maintenance can extend the life of your coffee maker. A professional can clean internal components, check for wear and tear, and replace parts as needed. This proactive approach can prevent issues before they become serious problems.
| Issue | Signs | Action |
|---|---|---|
| Electrical Problems | Flickering lights, strange noises | Call a professional |
| Component Failure | Non-functional pump or heater | Call a professional |
| Water Leakage | Water pooling around machine | Call a professional |
| Unusual Smells or Smoke | Burning smell, smoke | Turn off and call a professional |
| Repeated Failures | Issues persist after DIY fixes | Call a professional |

